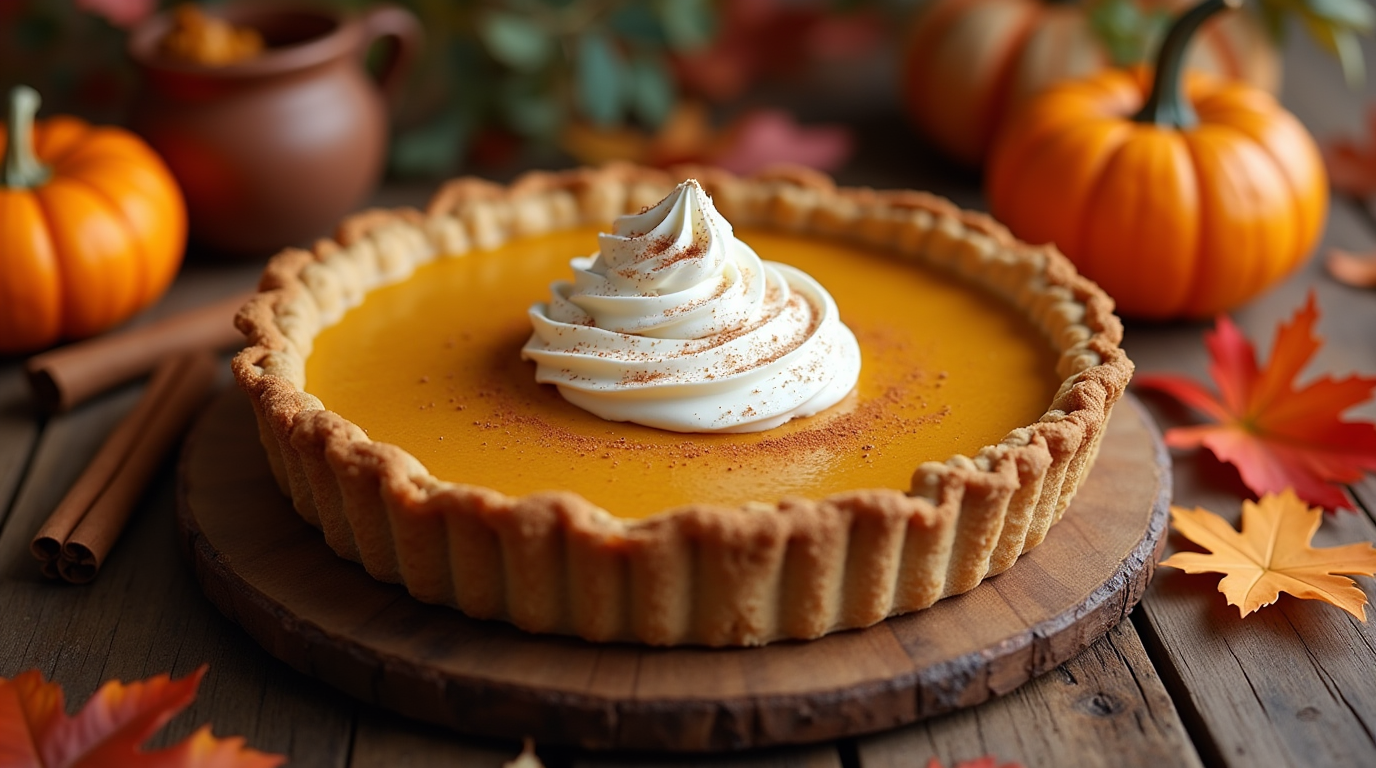
Hey there, pie lovers! Are you craving that warm, spiced, comforting goodness of a pumpkin pie, but dairy just isn’t your friend? Well, you’ve come to the right place! This isn’t just another recipe; it’s your comprehensive guide to creating a truly spectacular dairy-free pumpkin pie. We’ll dive deep into everything from the reasons why you might choose a dairy-free option, to tackling the common pitfalls, and of course, a killer recipe to make your taste buds sing. Forget about settling for second best – we’re aiming for pumpkin pie perfection, without a drop of dairy in sight! We’ll be discussing all the important stuff that goes into making the perfect pie, whether it’s tackling a wobbly crust or figuring out what the heck “blind baking” even means!
Table of contents
- Why Go Dairy-Free with Your Pumpkin Pie?
- Common Dairy-Free Pumpkin Pie Problems (and How to Solve Them!)
- The Secret to a Stellar Dairy-Free Pumpkin Pie: Ingredients Matter
- Dairy-Free Pumpkin Pie Recipe: Step-by-Step to Deliciousness
- Tips and Tricks for Dairy-Free Pumpkin Pie Success
- Flavor Variations: Beyond the Classic
- Dairy-Free Pumpkin Pie & Friends: Complementary Dishes
- Frequently Asked Questions (FAQs)
- Conclusion: Savoring Dairy Free Pumpkin Pie
Why Go Dairy-Free with Your Pumpkin Pie?
Okay, let’s be real. There are plenty of reasons why someone might want to ditch the dairy in their pumpkin pie, and it’s not just because it’s trendy. It’s about health, ethics, and sometimes, just plain old experimentation. Let’s break it down:
Health Benefits: Beyond Just Avoiding Dairy
For many of us, dairy isn’t exactly a picnic for our stomachs. Lactose intolerance is super common, causing all sorts of unpleasantness like bloating, gas, and other tummy troubles. Dairy-free options open up the wonderful world of pumpkin pie to those who might otherwise have to miss out! But the benefits can go even further. Some folks find that removing dairy can also help clear up skin issues, reduce inflammation, and even boost energy levels. So, going dairy-free isn’t just about avoiding a food group, it could be a step towards feeling your absolute best! Plus, with all the delicious plant-based alternatives available these days, you’re not sacrificing any flavour at all. It’s a win-win! You might even find that switching to dairy-free in a couple of places is the little boost your body needed.
Taste and Texture: Can Dairy-Free Really Compare?
Let’s tackle the elephant in the room: can a dairy-free pumpkin pie actually taste good? The short answer? Absolutely! Gone are the days of chalky, bland substitutes. With the right ingredients and techniques, a dairy-free pumpkin pie can be just as rich, creamy, and flavorful as its traditional counterpart, sometimes even better! We’re talking about that silky smooth texture, that perfect balance of spices, and that satisfyingly flaky crust – all without a single drop of dairy. Trust me, even your most skeptical dairy-loving friends will be impressed. The secret is in knowing what to swap and how to do it right!
Common Dairy-Free Pumpkin Pie Problems (and How to Solve Them!)
Okay, let’s get real. Baking is a science, and sometimes, things don’t go exactly as planned. When you’re switching to dairy-free baking, there are some common hurdles you might encounter. Let’s tackle them head-on:
The Soggy Crust Conundrum
Picture this: you pull your beautiful pie from the oven, and the crust is…soggy. Ugh. This is a classic problem, especially when using plant-based fats. The fix? Blind baking! This involves baking the crust partially before adding the filling. You might need to poke some holes with a fork before baking and use some pie weights so the bottom does not puff up. This ensures a crisp, sturdy base that can handle even the creamiest of pumpkin fillings. The key is to let it cool completely before adding the filling. Also ensure the crust is fully cooked through and not still raw.
The Grainy Filling Fiasco
That dreaded grainy texture in your filling? Nobody wants that! This usually happens when the wet ingredients don’t fully emulsify or if the starches aren’t properly activated. The solution? Make sure you’re whisking your ingredients thoroughly, particularly when adding your dairy-free milk, and consider adding a touch of cornstarch or arrowroot powder for extra smoothness. It acts as a binder and thickener without affecting the final flavour of the pie. Blending all the wet ingredients in a blender before adding to the dry ingredients can also really help.
The Secret to a Stellar Dairy-Free Pumpkin Pie: Ingredients Matter
Alright, we’ve tackled the common problems. Now, let’s talk about the secret sauce – the ingredients! Building a great dairy-free pumpkin pie is all about choosing the right components. It’s about understanding how each ingredient contributes to the overall flavor and texture. We’re not just substituting here; we’re strategically selecting ingredients that will elevate your pie to the next level. We are about to unlock some pie making secrets!
The Perfect Dairy-Free Crust: From Store-Bought to Homemade
Let’s talk about the foundation of our pie: the crust. You’ve got options! For convenience, a store-bought dairy-free pie crust can be a lifesaver, but be sure to check the ingredients list to avoid hidden dairy. If you’re feeling ambitious, making your own crust from scratch is so satisfying. You can use plant-based butters, coconut oil, or even a blend of the two. The key here is to keep everything cold and not overwork the dough. A buttery, flaky crust is attainable without any dairy whatsoever. It just takes practice and the right recipe. Trust me, the taste difference is worth the effort!
Pumpkin Puree Perfection: Canned vs. Homemade
Canned pumpkin puree is a super convenient pantry staple, and it’ll do the trick in a pinch. Just make sure it’s pure pumpkin and not pumpkin pie filling, which often contains added sweeteners and spices. But for a next-level pie, homemade pumpkin puree is the way to go. Roasting your own pumpkins not only adds depth of flavor but also gives you control over the texture. It really does make a difference! It’s worth the extra effort if you have the time. There are plenty of tutorials to walk you through the process, and you can always freeze any excess for future use. Think of it as a little bit of pumpkin love in every bite!
Dairy-Free Milk Magic: Choosing the Right Alternative
Your choice of dairy-free milk really matters for your pie’s flavor and texture. Full-fat coconut milk is a great option for richness, but it does have a coconut flavor. If that’s not your thing, try oat milk for a creamy, neutral taste. Soy milk works too, just be sure to use unsweetened. Almond milk is thinner and might need a little help thickening. Try different milks and find your favorite!
Sweeteners that Sing: Beyond White Sugar
While white sugar is a classic choice, exploring different sweeteners can add another layer of flavor complexity to your pie. Brown sugar adds a caramel-like note and a deeper color. Maple syrup or agave nectar offer a more subtle sweetness and a touch of natural flavor. These can be used in combination with white or brown sugar for a unique taste. You can also try adding a tablespoon of molasses for an even more unique taste! Play around and see what suits your palette!
Spice it Up: The Heart of Pumpkin Pie Flavor
Spices are the secret to amazing pumpkin pie. Fresh cinnamon, ginger, nutmeg, and cloves are must-haves. A little allspice adds warmth, and cardamom brings a unique twist. Fresh spices are key – don’t use ones that have been sitting in your pantry for too long. They lose their flavor, so replace them every six months to keep your pie tasting its best. Spices truly are what make this fall treat special!
Dairy-Free Pumpkin Pie Recipe: Step-by-Step to Deliciousness
Okay, enough with the theory, let’s get baking! 👩🍳 This recipe is designed to be easy to follow and deliver exceptional results. Get your aprons on, and let’s make some pie magic!
Gathering Your Ingredients
Before you start, make sure you have all your ingredients measured and ready to go. Here’s a breakdown of what you’ll need:
| Ingredient | Quantity |
| Dairy-Free Pie Crust | 1 (9-inch) |
| Pumpkin Puree | 1 1/2 cups |
| Full-Fat Coconut Milk | 1 cup |
| Light Brown Sugar | 1/2 cup |
| Granulated Sugar | 1/4 cup |
| Cornstarch | 2 tbsp |
| Eggs or Egg Substitute | 2 |
| Vanilla Extract | 1 tsp |
| Ground Cinnamon | 1 tsp |
| Ground Ginger | 1/2 tsp |
| Ground Nutmeg | 1/4 tsp |
| Ground Cloves | 1/4 tsp |
| Salt | 1/4 tsp |
| Pinch of Allspice | 1 pinch |
Step-by-Step Instructions for a Perfect Pie
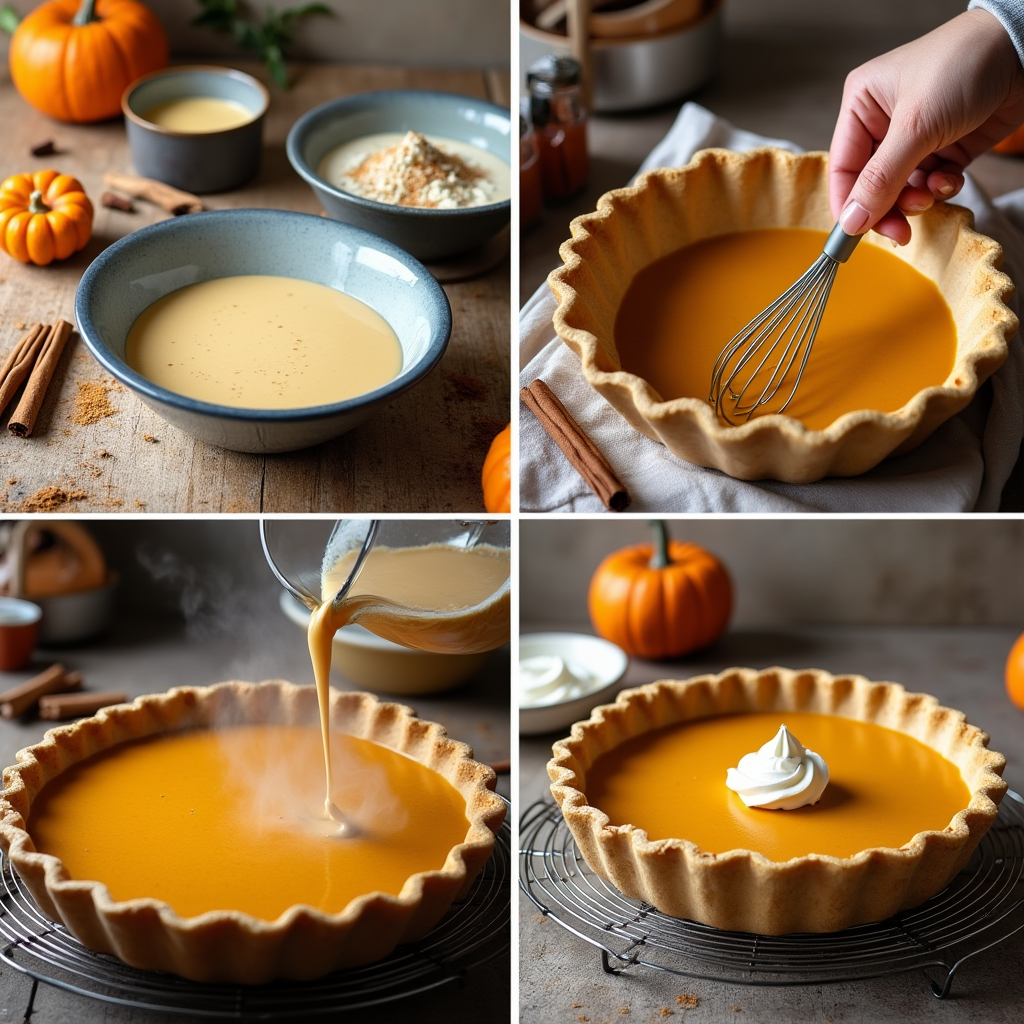
- Preheat and Prepare: Preheat your oven to 375°F (190°C). If using a homemade crust, pre-bake your pie crust by blind baking for about 15 minutes, using pie weights. If using a store bought crust, just prick the bottom with a fork to prevent it from puffing up.
- Whisk the Dry Ingredients: In a medium bowl, whisk together the sugars, cornstarch, cinnamon, ginger, nutmeg, cloves, allspice and salt.
- Combine Wet Ingredients: In a separate bowl, whisk together the pumpkin puree, coconut milk, eggs (or egg substitute), and vanilla extract until smooth.
- Mix Everything: Gradually add the dry ingredients to the wet ingredients, whisking until just combined. Be careful not to over mix.
- Pour into Crust: Pour the filling into the pre-baked crust.
- Bake: Bake for 45-55 minutes, or until the edges are set and the center is just slightly jiggly. You will know it’s done when a knife inserted in the center comes out clean.
- Cool Completely: Let the pie cool completely on a wire rack before slicing and serving. It may be warm, but it needs to cool to achieve the right texture.
“Baking is a science, but it’s also an art. It requires attention to detail, a bit of patience, and a whole lot of love. Don’t be afraid to experiment and make the recipe your own!” 🥰

Tips and Tricks for Dairy-Free Pumpkin Pie Success
We’ve got our recipe down, but like any good baking adventure, there are a few extra tips and tricks that can really take your dairy-free pumpkin pie from good to amazing. These little nuggets of wisdom can make all the difference, ensuring a perfect outcome every time. Let’s get into them!
Blind Baking: Your Crust’s Best Friend
We touched on this earlier, but it’s worth reiterating: blind baking is your crust’s secret weapon. What exactly is it? It’s pre-baking the crust before adding the filling. This prevents that dreaded soggy bottom we all want to avoid. You want that perfectly golden crust, and this is how you get it. To blind bake, line the crust with parchment paper, fill it with pie weights (dried beans or rice work great too!), and bake for about 15 minutes. Remove the weights and paper, and bake for another 5-10 minutes, or until the crust is lightly golden. Let it cool completely before filling. It’s an extra step, but it’s so worth it for a crisp and stable pie. Trust me!
Temperature Control: The Key to Consistency
Temperature is a big deal in baking. Ensure your oven is at the correct temperature, and use an oven thermometer if needed to ensure accuracy. The temperature directly impacts the texture and even cooking of the pie. Also, it’s important to ensure that your ingredients are at the right temperature. Cold dairy-free butter or coconut oil for your crust will give you a flakier texture. Room-temperature ingredients for your filling can also help prevent lumps. The key is to be mindful of your temperatures at each step. It might seem minor, but it makes all the difference.
Cooling Down: Patience is a Virtue
I know, I know, the smell of fresh-baked pie is incredibly tempting, but resisting the urge to dig in too soon is essential for a perfect slice. Allow your pie to cool completely on a wire rack before slicing. This allows the filling to set properly, preventing it from being runny or falling apart. This can be torture, I know. But patience is a baker’s best friend, and it truly makes all the difference in the final texture of the pie. Think of it as a little gift to your future self; the slice will be all the more satisfying when it’s perfectly set.
Flavor Variations: Beyond the Classic
While a classic pumpkin pie is amazing, don’t be afraid to experiment with other flavour combinations! You can incorporate a touch of citrus by adding some orange zest or a tiny squeeze of lemon juice to the filling. How about adding a layer of vegan chocolate ganache to the bottom of the crust before adding the filling? Or even swirl some dairy-free caramel sauce into the filling before baking. Think about adding some bourbon to the recipe for a boozy twist! For a spicier pie, you can up the ante on the ginger and cloves or add a pinch of cayenne pepper. The point is, have fun and make it your own! There is really no right or wrong here.
Dairy-Free Pumpkin Pie & Friends: Complementary Dishes
A great pie is even better when enjoyed with equally delicious side dishes! Pumpkin pie is traditionally associated with fall and holiday feasts, so let’s explore some amazing pairings. This isn’t just about the pie itself. It’s about the entire experience of creating an unforgettable meal.
A Fall Feast: Pair Your Pie with Irresistible Christmas Candy & More!
While this might sound a bit early, who doesn’t love a good pairing with some Irresistible Christmas Candy? But let’s think beyond the usual festive sweets. Consider pairing your pumpkin pie with savory dishes like Old Fashioned Stuffed Bell Peppers, the perfect balance of sweet and savoury. A hearty dish like this makes the pie even more satisfying, providing a beautiful contrast in textures and flavours. And why not include some savory sides like roasted root vegetables, a crunchy kale salad with a maple-balsamic vinaigrette, or a creamy mashed potato dish made with plant-based milk and butter. This will make a wonderful balanced meal.
The Perfect Ending: Beyond Pumpkin Pie
After a slice of your amazing dairy-free pumpkin pie, you might think the meal is complete. But why not add a second dessert for a little extra indulgence? A warm, decadent Texas Sheet Cake is the perfect way to round out the meal, especially if you’re catering to a mixed crowd of sweet tooths. A little bit of something chocolate, alongside the pumpkin pie is a great combination of flavours and something that is always a hit. For a little bit of southern flair, consider serving it alongside a piece of Perfectly Crispy Cast Iron Skillet Cornbread, for that true comfort-food vibe.
“The best meals are those shared with loved ones, full of laughter, good conversation, and, of course, delicious food!” 🥳
Frequently Asked Questions (FAQs)
Let’s tackle some of those burning questions you might have about making dairy-free pumpkin pie. No question is too silly! Let’s get them all answered.
Can I make this ahead of time?
Absolutely! In fact, it’s often best to make your pumpkin pie at least a day in advance. This allows the flavors to meld and the filling to set fully. Store it covered in the refrigerator. It’s a fantastic option when you are meal planning or planning for a party. It also means less stress for you on the day of your gathering!
Can I freeze dairy-free pumpkin pie?
Yes, you can! For the best results, let the pie cool completely, then wrap it tightly in plastic wrap, followed by a layer of foil. It can be stored in the freezer for up to three months. When you’re ready to enjoy it, thaw it overnight in the refrigerator. It might lose some texture after freezing but it will still taste great.
What can I use instead of eggs?
If you are looking for a vegan option, there are a few great alternatives for the eggs. You can use flax eggs (1 tablespoon of ground flaxseed mixed with 3 tablespoons of water), or commercial egg replacers are also a great option. Remember that egg replacers might change the texture slightly, so do not hesitate to experiment.
Conclusion: Savoring Dairy Free Pumpkin Pie
There you have it! Your comprehensive guide to creating the most incredible dairy-free pumpkin pie ever. From understanding the reasons for going dairy-free, to tackling common problems, to mastering the art of the perfect crust and filling, you’re now equipped to create a pie that will impress even the most discerning of taste buds. Remember, baking is about having fun and experimenting – whether it’s perfecting a pumpkin pie or trying your hand at making decadent Caramel Cinnamon Rolls. Don’t be afraid to put your own personal spin on the recipe! So, go forth, grab your ingredients, and create a dairy-free pumpkin pie masterpiece!
Ready to bake your own amazing dairy-free pumpkin pie? Share your creations with us! Tag us on social media and let us know how it went. Don’t forget to leave a comment below with any tips or variations you discover! Happy baking, and enjoy every delicious slice! 🎉

