Okay, fellow food lovers, let’s talk about pie. Not just any pie, but the pie that’s been stealing hearts (and taste buds) lately: Salted Honey Pie. Imagine a world where the golden sweetness of honey meets the playful pinch of salt, all wrapped up in a flaky, buttery crust. Sounds like a dream, right? Well, it’s not a dream; it’s a delicious reality, and I’m here to guide you through every step of making your own masterpiece. We’re going to go on a journey, from understanding what makes this pie so special to tackling the common kitchen mishaps. You’ll be a salted honey pie pro before you know it. So, grab your aprons, and let’s get baking!
Table of contents
- What’s the Buzz About Salted Honey Pie?
- Crafting the Perfect Crust: The Foundation of Your Salted Honey Pie
- The Honey Heart: Creating the Luscious Filling
- Common Problems & How to Solve Them About Salted Honey Pie
- The Salted Honey Pie Recipe: A Step-by-Step Guide
- Serving and Storage Secrets
- Salted Honey Pie: More Than Just a Dessert (with Fun Variations!)
- Conclusion: Your Journey into the World of Salted Honey Pie
What’s the Buzz About Salted Honey Pie?
Have you ever wondered why something so seemingly simple can become a total obsession? That’s the magic of salted honey pie! This isn’t your grandma’s classic apple pie; this dessert is a modern marvel. It balances the sweetness and richness of honey with a hint of salt, creating a flavor profile that’s both comforting and surprisingly sophisticated. It’s like a hug for your taste buds.
A Taste of Tradition, Reimagined
While the concept might seem new, honey pies themselves have roots in traditional baking. But the addition of salt is what truly elevates this dessert, transforming a familiar classic into something truly exceptional. It’s taking the best of old-fashioned comfort food and giving it a modern, chic twist. It’s a culinary evolution, if you will!
Why Salt & Honey Are a Match Made in Pie Heaven
“But why salt?” you might ask. Well, here’s the thing: salt doesn’t just make things salty; it’s a flavor enhancer. Think about it: a little salt can make a caramel or chocolate taste even richer. It’s the same with honey. The salt in this pie acts to cut through the sweetness and amplify the complex floral and earthy notes of the honey. It also adds a lovely contrast that keeps your taste buds on their toes – it’s a beautiful dance between sweet and salty! Without the salt, the honey can be a bit one-dimensional, but add that dash, and bam! Suddenly, the flavors explode in your mouth. It’s that wonderful push and pull that makes this pie so addictive. It’s no wonder everyone is raving about it.
Crafting the Perfect Crust: The Foundation of Your Salted Honey Pie
Now that we’ve established how darn good salted honey pie is, let’s get to the heart of the matter: that golden, flaky crust. A pie is only as good as its crust, and this is something you can’t skip on, believe me. The crust is the foundation on which the magic happens and if it’s not perfect then well, we will not have a perfect pie.
The Classic Butter Crust: Tips and Tricks
The most common crust you’ll encounter is a classic butter crust, and for good reason! It’s incredibly versatile and delivers that melt-in-your-mouth texture we all crave. However, mastering it requires some patience and a few key tips:
- Keep it Cold: This is the golden rule of pie crust. Cold ingredients prevent the butter from melting into the flour, which leads to a tough crust. Use ice water, cold butter, and don’t be afraid to chill your dough multiple times. It makes all the difference!
- Don’t Overmix: Overmixing the dough will develop the gluten, resulting in a tough, rubbery crust. Mix just until everything comes together, and then stop.
- Handle Gently: Be kind to your dough! Overworking it can also lead to a tough texture. Handle it with gentle hands.
- Chill Out: Give the dough ample time to rest and chill before rolling. This helps the gluten relax and makes rolling much easier.
Alternatives for a Gluten-Free or Vegan Crust
For those with dietary needs or preferences, you don’t have to miss out on the salted honey pie fun! There are plenty of great alternatives:
- Gluten-Free: Almond flour or a gluten-free flour blend can work beautifully. Just be sure to add a binder like xanthan gum to help mimic gluten’s structure.
- Vegan: Instead of butter, use a high-quality vegan butter substitute or coconut oil. Flaxseed “eggs” can also help bind the dough.
Remember, experimenting can be fun! Don’t be afraid to try different things to find what works best for you.
The Honey Heart: Creating the Luscious Filling
Now, for the star of the show: that glorious honey filling. It’s the heart and soul of this pie, and getting it just right makes all the difference. This is where the magic happens!
Choosing the Right Honey: A Key to Flavor
Not all honeys are created equal! The type of honey you use will significantly affect the final flavor of your pie.
- Wildflower Honey: This is a great all-around choice with a complex, floral flavor. It’s a reliable option that’s usually easy to find.
- Buckwheat Honey: If you prefer something more robust and earthy, try buckwheat honey. It has a dark color and a strong molasses-like flavor. Be careful to not overpower the sweetness of the honey when using this choice.
- Orange Blossom Honey: For a lighter and citrusy note, go for orange blossom honey. It will add a delicate brightness to your pie.
- Local Honey: Supporting local beekeepers not only tastes great but helps local ecosystems too. And the best part is it’s incredibly delicious and diverse!
Choose a honey you love – it’s the main flavor profile of this pie, so your choice matters!
Balancing Sweetness and Salt: A Delicate Dance
The balance between sweet and salty is critical for this recipe. The idea is that the salt shouldn’t be aggressive; rather, it’s there to simply enhance all the other flavors in a delicate way. Start with a little salt, then taste and adjust as needed. If you feel that you’ve accidentally gone too heavy-handed with salt, add just a tiny bit more of honey. It’s all about finding that perfect equilibrium.
Adding Depth with Other Flavors: Vanilla, Spices, and More
While honey and salt are the main players, you can add other ingredients to enhance the flavor of your pie. A dash of vanilla extract can add warmth, while a pinch of cinnamon or cardamom can add complexity. Some bakers even add a touch of lemon zest for a subtle tang. These are optional additions, but they can certainly elevate your pie to the next level.
Common Problems & How to Solve Them About Salted Honey Pie
Even the most experienced bakers have kitchen mishaps, and salted honey pie is no exception. Let’s talk about some common issues and how to avoid them. Knowledge is power, after all, especially in the baking world! We want to be prepared for anything and everything, so that you can become the salted honey pie master!
Soggy Bottom Blues: Preventing a Waterlogged Crust
A soggy bottom crust is a classic pie problem and is caused when the filling is overly liquid. The last thing anyone wants is a pie that’s wet on the bottom, that’s for sure. Here are some tips to prevent that:
- Blind Bake: Pre-baking the crust for a few minutes before adding the filling helps to set it and prevent it from becoming soggy. I always do this, and it’s never failed me!
- Egg White Barrier: Brushing the bottom of the pre-baked crust with a thin layer of egg white creates a barrier that helps to prevent the filling from soaking into the crust.
- Avoid Overly Wet Fillings: Be mindful of the moisture content of your filling. Avoid using too much liquid or adding ingredients that release a lot of moisture.
- Use Parchment Paper: When blind baking use parchment paper and pie weights or dried beans to weigh the crust down, and prevent it from puffing up.
Filling That’s Too Runny or Too Stiff
The texture of the filling is key to a good pie. If it’s too runny, your pie will be a mess. If it’s too stiff, it will be unpleasant. So here’s what to do to get it just right:
- Runny Filling: If your filling is too runny, it might be due to not enough eggs, not cooking the mixture for long enough, or too much liquid in the recipe. You can gently cook the filling on the stove to reduce the liquid or add a little cornstarch to thicken it.
- Stiff Filling: On the other hand, a filling that’s too stiff could mean it’s overcooked or that it has too much starch. You can add a little bit of honey or a bit of water to the filling to thin it out.
Burnt Crust or Overcooked Filling
Burnt crust or overcooked filling is another common problem to avoid. It’s a sad sight and we don’t want that. So how can we avoid this baking mishap?
- Oven Temperature: Always be sure to use the correct oven temperature. If your oven is too hot, the crust might burn before the filling is cooked through. Use an oven thermometer to ensure your oven is accurate.
- Crust Shield: If your crust is browning too quickly, use a pie shield or aluminum foil to cover the edges. This will prevent it from burning while the filling continues to bake.
- Baking Time: Always keep a close eye on your pie while it’s baking. Adjust the baking time as needed and remember that all ovens bake differently.
The Salted Honey Pie Recipe: A Step-by-Step Guide
Alright, let’s get down to business. Here’s a recipe that combines everything we’ve talked about. Ready to bake?
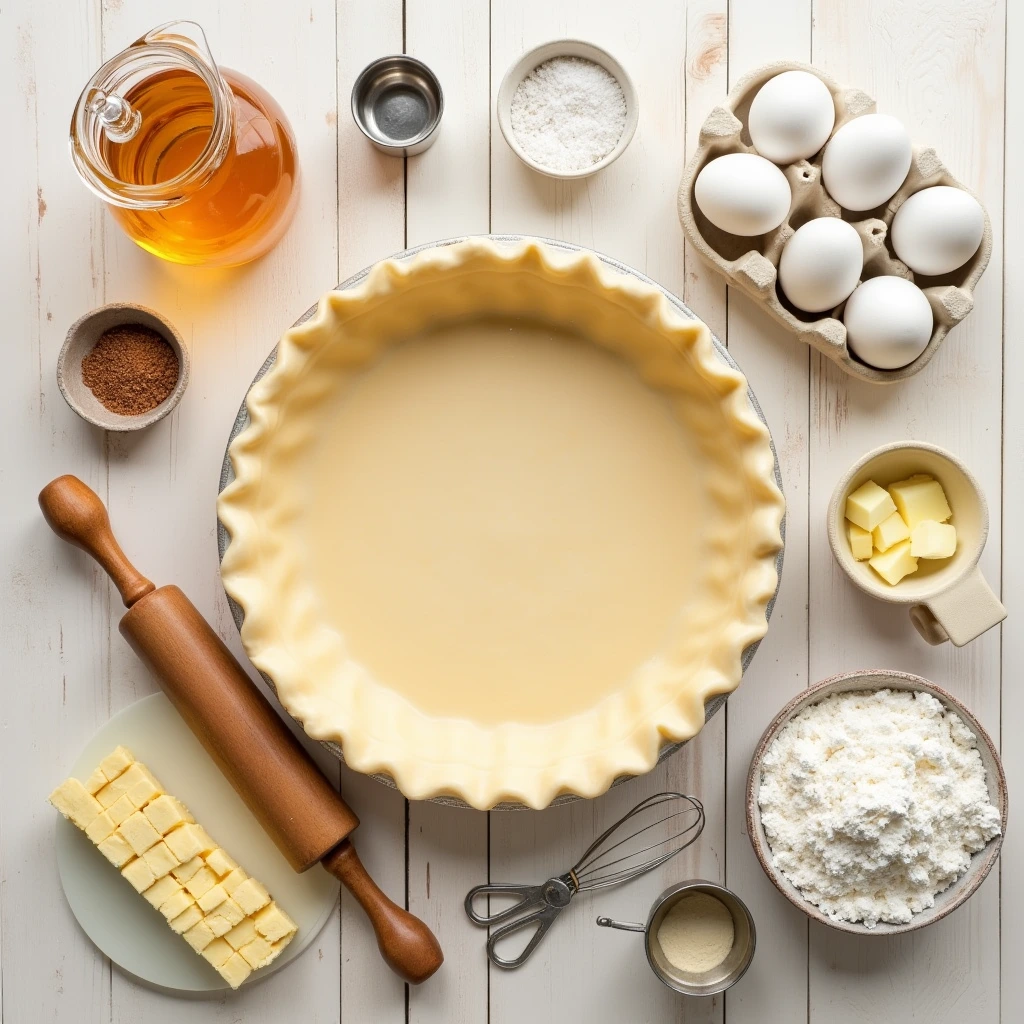
Ingredients You’ll Need
| Ingredient | Quantity | Notes |
| For the Crust | ||
| All-Purpose Flour | 2 1/2 cups | Can substitute with gluten-free blend if needed |
| Unsalted Butter | 1 cup (2 sticks) | Very cold, cut into cubes |
| Ice Water | 1/2 cup – 3/4 cup | Use just enough to bring the dough together |
| Salt | 1 teaspoon | |
| For the Filling | ||
| Honey | 1 1/2 cups | Choose your favorite kind! |
| Heavy Cream | 1/2 cup | |
| Unsalted Butter | 4 tablespoons | |
| Eggs | 3 large | Lightly beaten |
| Salt | 1/2 teaspoon | Or more to taste |
| Vanilla Extract | 1 teaspoon | Optional, for added flavor |
Step-by-Step Baking Instructions
- Make the Crust: In a large bowl, combine the flour and salt. Add the cold, cubed butter and cut it into the flour using a pastry blender or your fingers until the mixture resembles coarse crumbs. Gradually add the ice water, mixing until the dough just comes together.
- Chill the Dough: Form the dough into a disc, wrap it in plastic wrap, and refrigerate for at least 30 minutes (or up to 2 days).
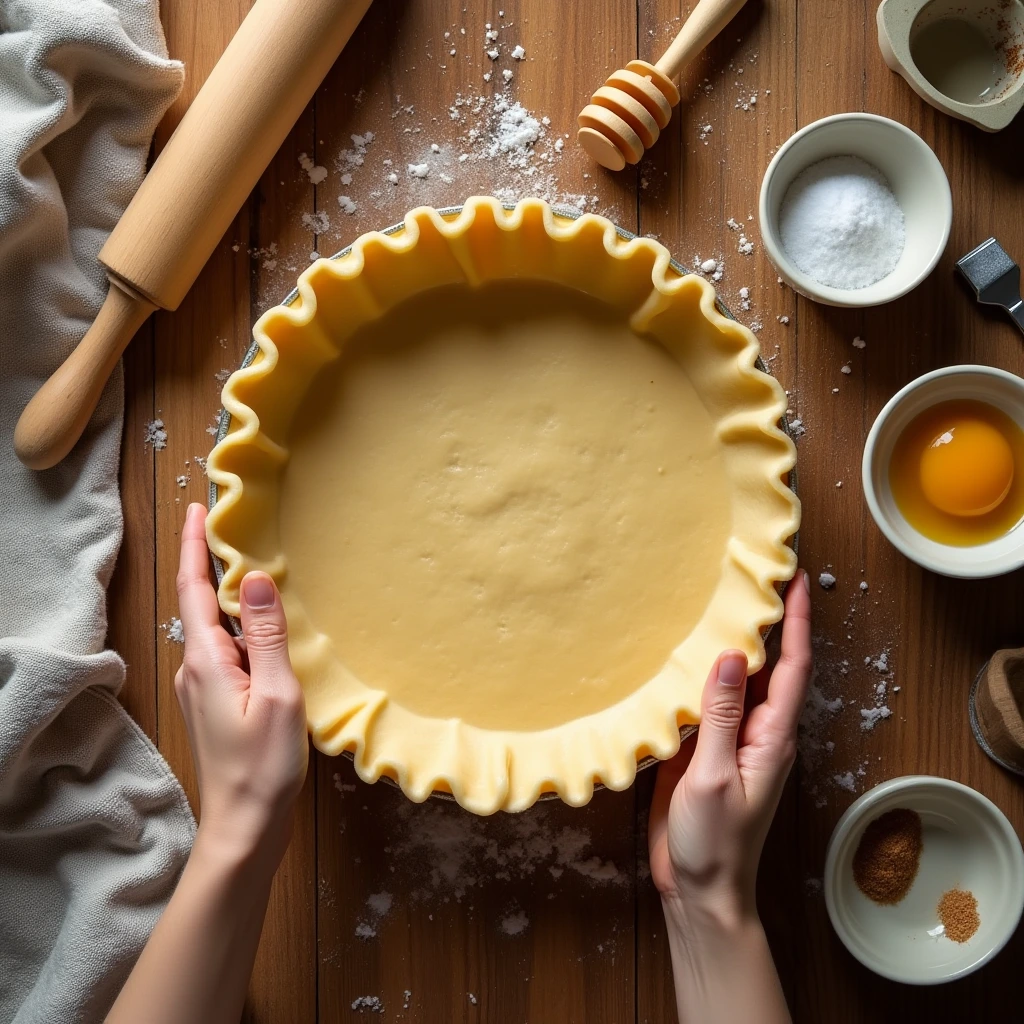
- Prepare the Pan: Take the dough from the fridge and roll it out on a lightly floured surface to about 1/8-inch thickness. Carefully transfer the dough to a 9-inch pie plate. Crimp the edges of the crust.
- Blind Bake (Optional but Recommended): Place parchment paper and fill with pie weights or dried beans and blind bake in a 375°F (190°C) preheated oven for about 15 minutes. Remove the paper and weights, and continue to bake for 5 more minutes.
- Make the Filling: In a saucepan over medium heat, combine the honey, cream, and butter. Stir until the butter melts and everything is well combined. Remove from heat and let it cool slightly. In a separate bowl, lightly beat the eggs, then gradually add the honey mixture while whisking continuously. Add salt and vanilla, stir to combine.
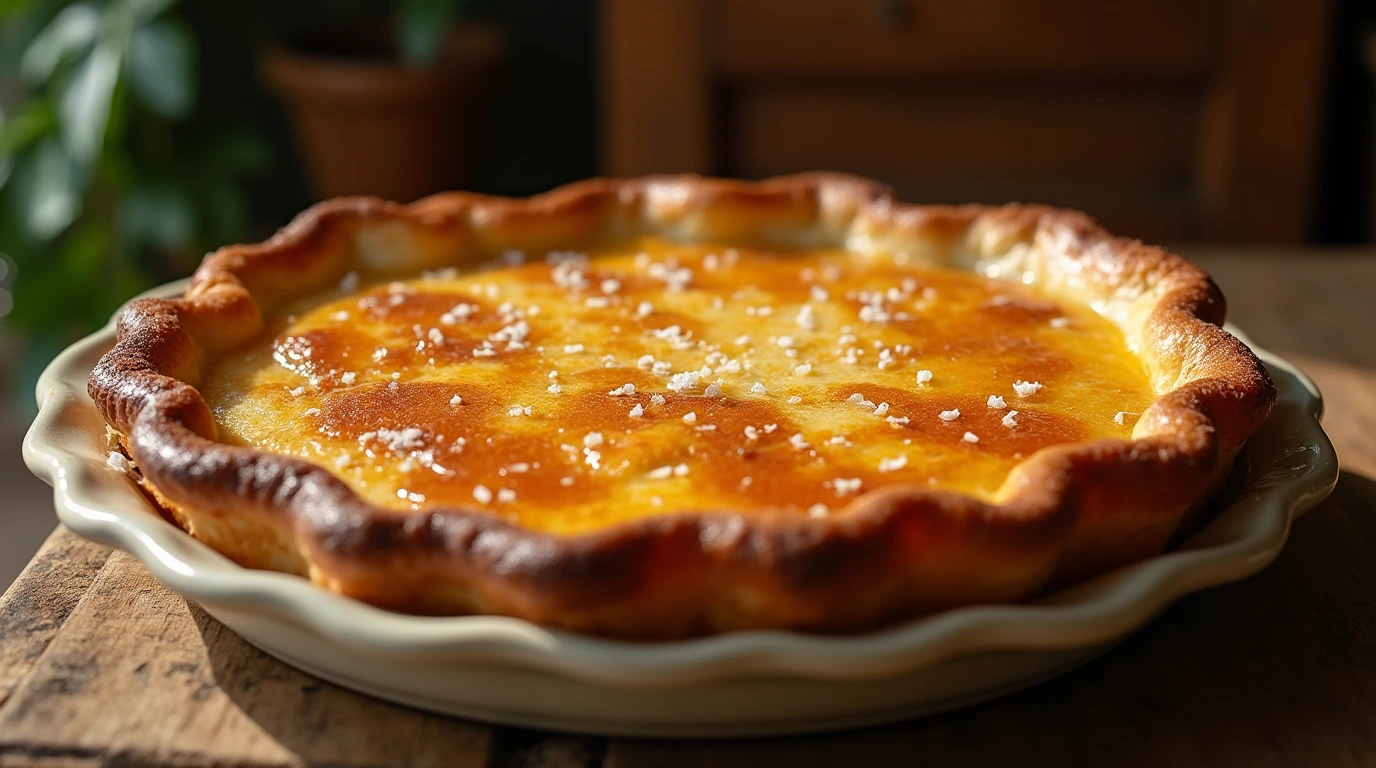
- Assemble and Bake: Pour the honey filling into the pre-baked pie crust. Bake in the preheated oven at 350°F (175°C) for 30-40 minutes, or until the filling is set but still slightly jiggly in the center.
- Cool: Remove from the oven and let it cool completely on a wire rack. The filling will firm up as it cools.
- Enjoy: Slice and serve your delicious pie!


Serving and Storage Secrets
Okay, your pie is ready, but that’s not where the journey ends! Serving and storing properly are crucial for getting the most out of your creation.
The Art of the Perfect Slice: Presentation Tips
“The first bite is with the eye” and it’s true! Presentation matters! A nicely sliced and plated piece of pie can make all the difference.
- Cool Completely: Always let the pie cool completely before slicing. This allows the filling to firm up, giving you neat, even slices.
- Use a Sharp Knife: A sharp knife makes clean cuts, preventing the pie from crumbling. You can run the knife under hot water between cuts for an even cleaner slice.
- Garnish: Dust the pie slice with a little flaky sea salt or add a dollop of whipped cream to elevate the look.
Keeping Your Pie Fresh: Storage Advice
- Room Temperature: For a day or two, you can store your pie at room temperature, covered with plastic wrap or an airtight container.
- Refrigeration: For longer storage, keep the pie in the fridge for up to 4 days. Make sure to bring the pie to room temperature before serving for better texture and flavor.
- Freezing: For even longer storage, you can freeze the pie. Wrap it tightly in plastic wrap and then in aluminum foil or place it in a freezer bag. It will keep well for up to 3 months. Defrost in the fridge before serving.
Salted Honey Pie: More Than Just a Dessert (with Fun Variations!)
Here’s where we can get really creative. Salted honey pie is a fantastic base for experimentation. Let’s look at some exciting twists!
Adding Different Toppings: Nuts, Chocolate, and More
- Nuts: Toasted pecans, walnuts, or almonds add a great crunch and extra nutty flavor.
- Chocolate: A drizzle of melted dark or milk chocolate can add an extra layer of richness.
- Caramel: A drizzle of homemade or store-bought caramel sauce is a fantastic addition for extra decadence.
- Fruit: A few slices of fresh fruit, like figs or berries, can add a touch of freshness and vibrancy to your pie.
Salted Honey Pie with a Twist: Infusing Flavors
- Infused Honey: Infuse your honey with herbs like rosemary or thyme for a unique flavor profile.
- Spices: Experiment with different spices such as ginger, nutmeg, or star anise to enhance the warmth of the pie.
- Citrus Zest: A bit of lemon, orange, or lime zest can add a refreshing zing to your pie.
“Baking is a science and an art; one must measure carefully, and yet there’s always room for a little magic.”
Conclusion: Your Journey into the World of Salted Honey Pie
Well, we’ve reached the end of our pie journey! From understanding the magic behind the flavors to tackling common problems and making the perfect pie, you’re now equipped to create your own show-stopping salted honey pie. Baking is a journey of experimentation and discovery, so don’t be afraid to get creative, have fun, and most importantly, enjoy the process! Go on and share a slice of happiness!
“Life is what you bake of it.” – Unknown

